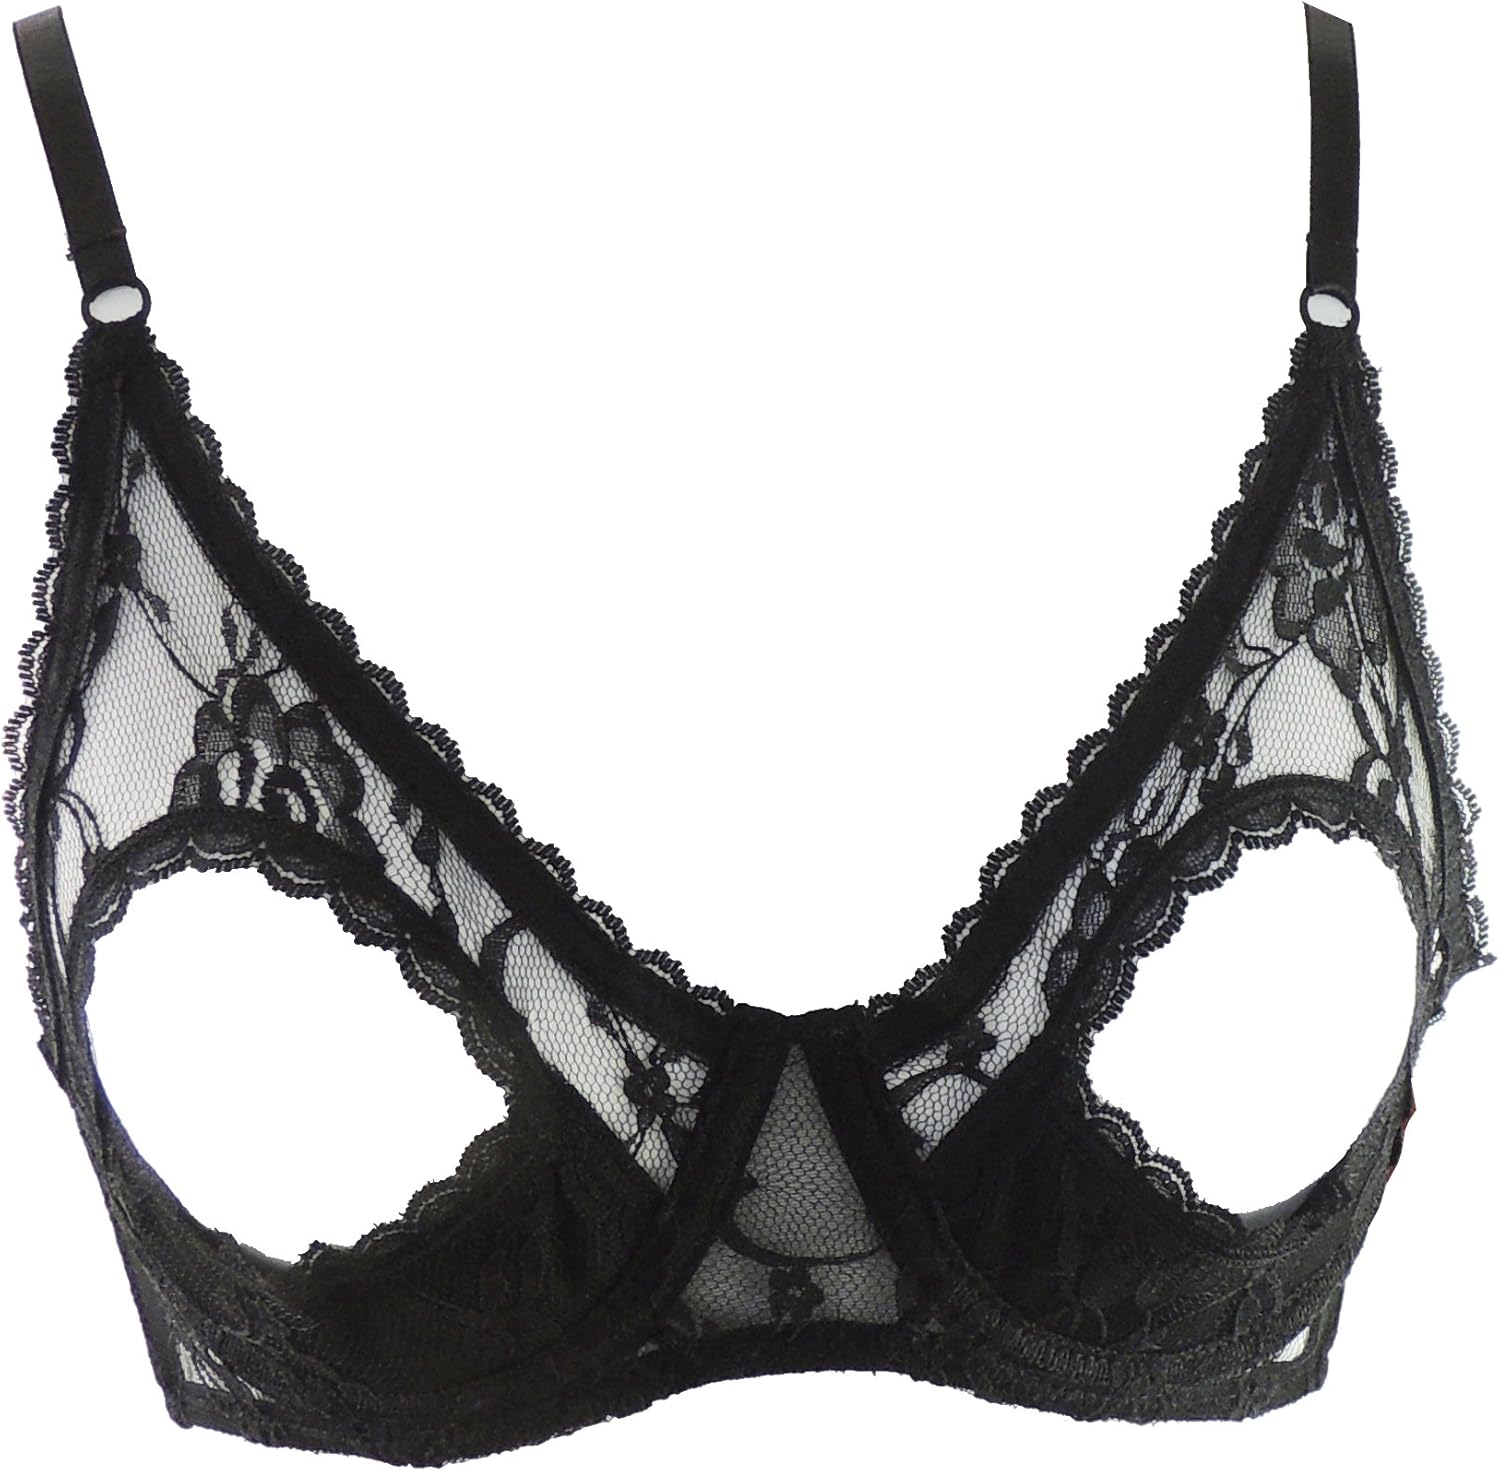
Naughty Bitz Ladies Beautiful Sexy Black Peek A Boo Open Nipple Gorgeous Floral Lace Underwire Bra
FREE Shipping
Naughty Bitz Ladies Beautiful Sexy Black Peek A Boo Open Nipple Gorgeous Floral Lace Underwire Bra
- Brand: Unbranded

Description
Since the 1960s, women have been using their bras and their breasts to advocate for gender equality and women's rights. The bra-burning demonstration at the 1969 Miss America protest in New York City launched one of the most iconic and effective movements toward female equality, power and inclusion. But even some 48 years later, women in America are still finding unique ways to advocate for their rights and overcome the sexualization of their bodies.
No Bra - See Through | Flickr No Bra - See Through | Flickr
In more recent times, women have participated in feminist actions like Free the Nipple, a gender equality movement that launched in 2012 following the filming of Lina Esco's 2014-released documentary of the same name. And now, women are using opportunities of all kinds to campaign for the causes that matter most to them, including music festivals like Governors Ball. Fashion styles: Want to have a little fun while you cover ‘em up? Go for a funky fashion style like these from Nippies!
Rihanna
Quite frankly, my whole thing with nipples is that everybody has them. So why it's such a big deal for females to expose them is beyond me. Nonetheless, I'm all for freeing the nipple at festivals. They're here to nourish babies one day, if I should choose. If not they're just there and they look good," Janyssa Miller, a 21-year-old from Long Island, told Newsweek at the festival Saturday. And some of the most innovative nipple accessories are temporary tattoo nipples. Made by a preventative double mastectomy patient, Elizabeth Vivenzio, these lifelike tattoos help women who’ve had reconstruction after breast surgery to envision what it may be like to get permanent tattoo nipples, or replace tattoo nipples all together. Lace bra: Some lace bras have so much detail that they’ll actually hide your nipples, but a delicate, unlined lace bra is both pretty and sheer.
theCHIVE See through shirt pokies gallery - theCHIVE
Granted, while lace bralettes and Daisy Dukes are having a major fashion moment right now, for a lot of the women at Governors Ball—62 percent of attendees are women, according to the festival's creators Founders Entertainment—the choice to wear extra-revealing clothing was just another effort to promote women's rights and break down societal double standards toward women's bodies: particularly the idea that men get to showcase their bodies and dress however they want while women can't. No bra: Hey, you can also go sans bra and let ‘em loose! Depending on your outfit and bust size, some tops can provide all the support you want without the need to add additional layers. Remember that scene in The 40-Year-Old Virgin when the guys sit around and discuss their favorite kinds of breasts and nipples? These guys were raving about the best kinds, their favorite shapes and the various colors. While that may be a raunchy and over the top comedy, it does imply the popularity of nipples. They’re pretty exciting. So why are some of us afraid to showcase them? What is the big deal with nipples? Peek a boo bra: Usually for the bedroom, these little bralettes or sexy underwire bras are meant to showcase the very thing we’re discussing today: nipples! To some people nipples straight up mean “sex." For others, they are considered a very delicate, sensitive and personal part of their body. And for still others, they are just a way they feed their baby. Nipples have a unique purpose to each of us. It’s your choice if you’d like to share them with someone. It’s your choice if you want the world, or just a chosen few, to see what yours look like.The One Piece Pad Bra is a great option if you want protection without the fiddly bits. A medium support bra, it’s designed with one wide pad that slots easily into the bra and is removable for less nippy days. On the contrary, I’ve helped far more customers who prefer to keep their nipples hidden. Many of these women work with children or men or are in the public eye. Aside from how they feel about their nipples personally, they would rather eliminate the possibility of a professional hindrance.
HUGE NIPPLE POKIES LINGERIE TRY ON HAUL | ALLY HARDESTY HUGE NIPPLE POKIES LINGERIE TRY ON HAUL | ALLY HARDESTY
Adhesive nipple covers: Wear these when you don’t want to wear a bra, but do want some nipple coverage. There are SEVERAL kinds on the market made from silicone or paper, like these from Commando. Find the style that fits both your shape and skin tone for optimal invisibility.If it’s high support coverage you’re after, then the Nike Alpha is a great shout. The mesh pattern over the cups will mean nipples are camouflaged, while the overlay across the chest helps minimize bounce, prevents spillage and adds an extra layer of support so you can feel confident while you move. The Rival is also a winner as the moulded cups will protect your modesty while showing off your natural shape. The nipple is an important part of our female form. So whether or not you wish to showcase yours, I’m personally very thankful to have mine. Sheer bra: A barely there bra can provide support and shape while allowing your headlights to shine through. Look for materials like mesh or tulle. Low support bras are often made of thinner fabric, and while they look cute, they don’t offer as much coverage. But the Nke Indy UltraBreathe is a cut above the rest as not only is it super cute, but it’s got light padding and an ultralight mesh overlay — it’s designed to keep you cool but comes with the added benefit of keeping your nipples out of sight. Hide ‘em: Even if you’re a nipple fan, you may sometimes want to keep them out of sight. Here are a few easy ways to do so!
Guide To The Best Open Cup Bras Brazen Boobs - An Uplifting Guide To The Best Open Cup Bras
Post-Surgical Options: While we’re over here discussing whether or not to show nipples, there are women who no longer have them. I have helped many women who have undergone mastectomies or reconstruction. Typically these procedures surgically remove the breast tissue and the nipple. My go-to prosthesis company, Anita, includes a very small, barely there nipple shape on some of their breast forms. They also manufacture more noticeable adhesive nipples.
- Fruugo ID: 258392218-563234582
- EAN: 764486781913
-
Sold by: Fruugo