Samsung Galaxy S22+ 5G Mobile Phone 128GB SIM Free Android Smartphone Pink Gold
FREE Shipping
Samsung Galaxy S22+ 5G Mobile Phone 128GB SIM Free Android Smartphone Pink Gold
- Brand: Unbranded

Description
FHD+ is fine for most tasks though, as only select streaming services or games offer content that’s a higher resolution than that anyway. There’s also a refresh rate of 120Hz, which means motion looks pretty smooth when you’re swiping between menus or playing games. Still, if you’ve already decided against paying more for the Ultra, the good news is that the S22 Plus is pretty much everything you could possibly want from a flagship smartphone in 2022. It’s just that it’s not quite as head-turning as its more expensive sibling, and there’s a good chance that you’d be better off saving more money and buying the cheapest S22 instead.
S22 Plus review | TechRadar Samsung Galaxy S22 Plus review | TechRadar
On that note, I was also impressed with the S22 Plus’ Night mode. Again, there’s plenty of definition to images, and the phone’s AI algorithms did a good job at boosting the brightness without adding any unnatural colour tints or visual noise. There’s one caveat, however: you often have to hold the phone steady for a few seconds – not ideal if you’re taking night-time pictures in freezing temperatures with your gloves off. Both chipsets are paired with 5G modems, so both of these phones let you connect to next-gen networks which is useful for streaming and gaming on the go.
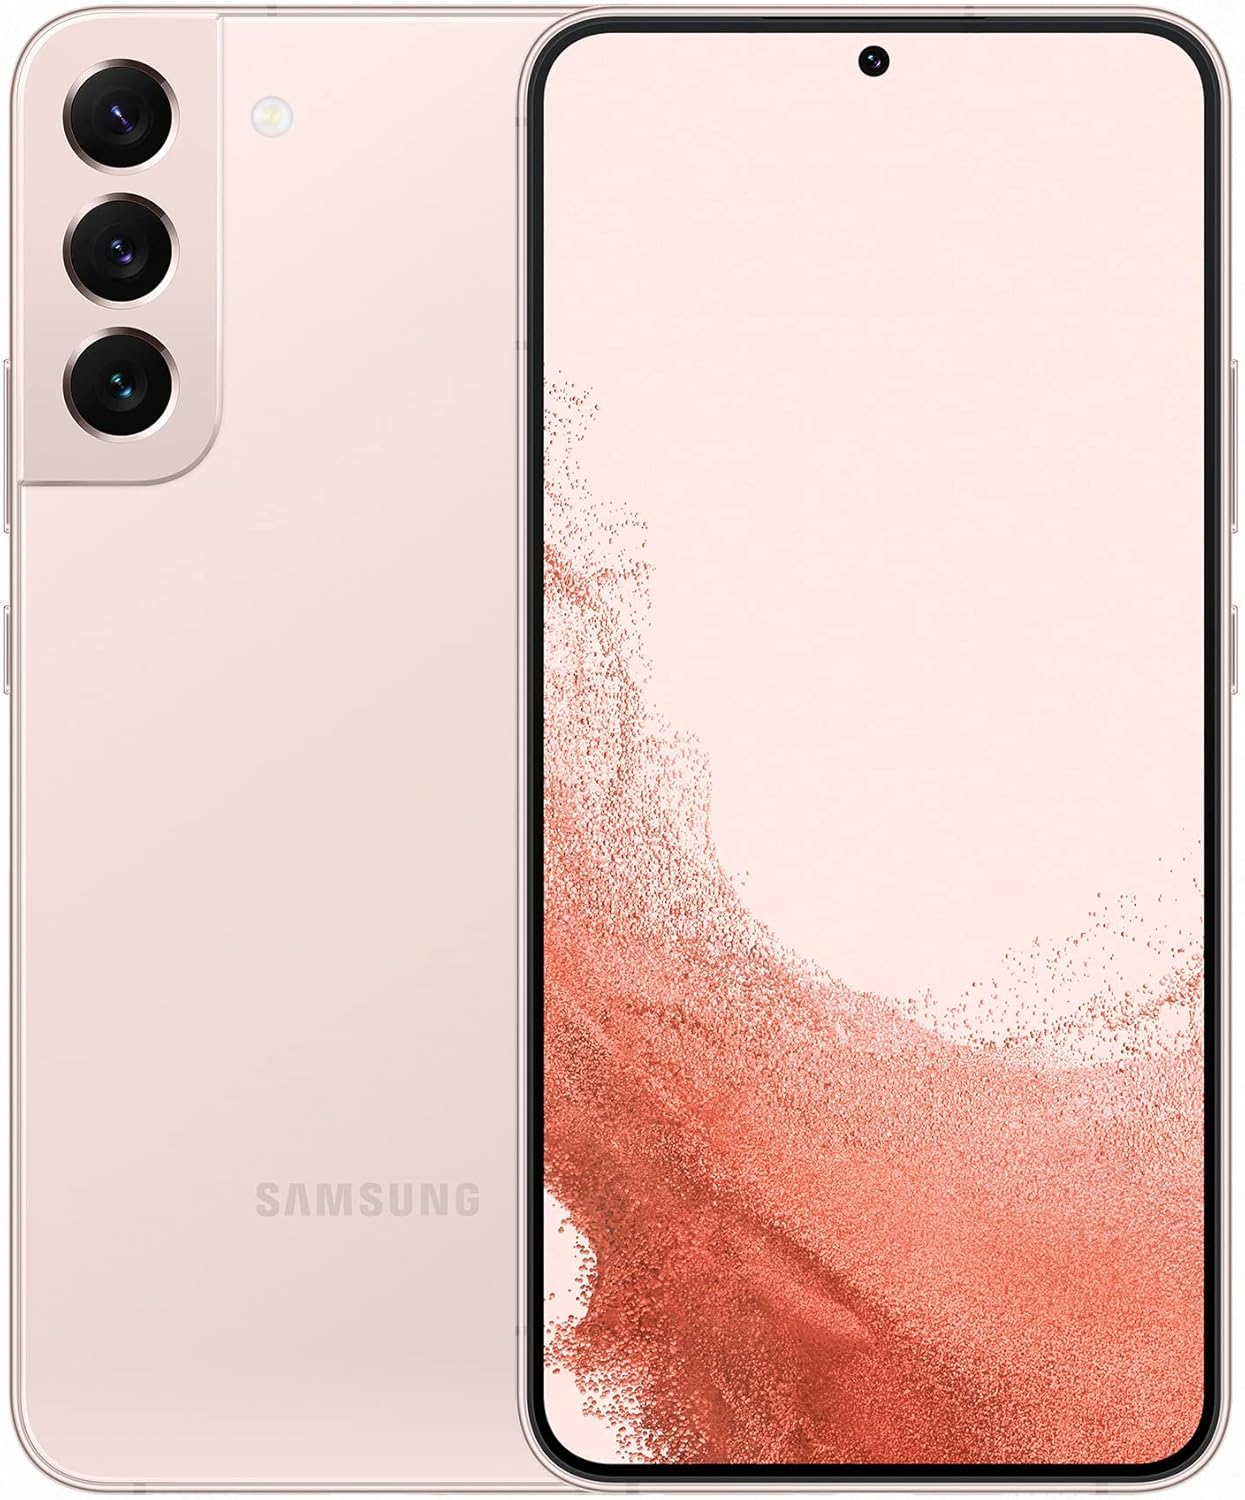
Don’t get us wrong: using the S22 Plus isn’t the same as using a cheap phone. But it doesn’t quite feel like a flagship in terms of navigation either. This is something we’ve found with previous Samsung phones and it’s the case here, too. Battery life And in many other areas, this is a powerful phone, with a top-end chipset, decent battery life and great main camera. Zoomed images are much improved, too. Pictures taken at 3x optical zoom looked phenomenal, and even the 10x hybrid zoom produced some Insta-worthy snaps (30x is still a bit iffy, but is miles better than last year). Telephoto images looked both crisp and clear, with very little visual noise, even as the light levels dropped. We also have to commend Samsung for being one of the few phone companies putting out vibrantly colored phones - we tested a pink S22 Plus, and other options include green, blue and violet. How many companies are putting out pink phones these days?
Samsung Galaxy S22+ 5G Mobile Phone 256GB SIM Free Android
Either way, that’s a supremely expensive smartphone - but then again, Samsung’s S-series devices aren’t designed for people on a budget. The awkward middle child of the family, Samsung’s Galaxy S22 Plus is a bit of a relic of a bygone era. Clinging to a time when the most expensive version of a flagship would simply get you a bigger screen, a bigger battery and not much else, its arrival is a particularly tough sell this year. While the resolution is pretty average, the S22 Plus wins some points in other display areas. Its max brightness is very high at 1,750 nits, and thanks to the AMOLED screen, contrast is impressive. Cameras
With a few discounts this phone might prove popular, but at its current price, it’s hard to recommend. You’ll never have to leave home without either, not with its 2-day battery life. That’s right, it can hold a full 48 hours of power. But when it does (eventually) need topping up, fast charging tech means it’ll ready for action again in no time. And wireless PowerShare lets you give your friend’s handset a boost if they’re running low. This is all quite disappointing, especially if you were hoping to upgrade from the S21. However, I’m going to caveat this with the fact that these speeds are still extremely good. The S22 Plus doesn’t feel sluggish in operation – far from it – and I didn’t notice a single instance of slowdown throughout my testing. Sitting slap bang in the middle of the range in terms of price, it’s a decent option, but it doesn’t really stand apart from the rest, either. The bigger screen is a nice bonus, as is the chunkier battery, but sadly I can’t see many of these flying off the shelves.
- Fruugo ID: 258392218-563234582
- EAN: 764486781913
-
Sold by: Fruugo