Melody Maison Extra Large Round Gold Wall Mirror 120cm x 120cm (1.2 M x 1.2 M)
FREE Shipping
Melody Maison Extra Large Round Gold Wall Mirror 120cm x 120cm (1.2 M x 1.2 M)
- Brand: Unbranded

Description
If the glass needs extra cleaning, use typical glass cleaning spray or a water / white-vinegar mixture spray and wipe the glass with a lint-free, scratch-free cloth to get a streak-free finish.
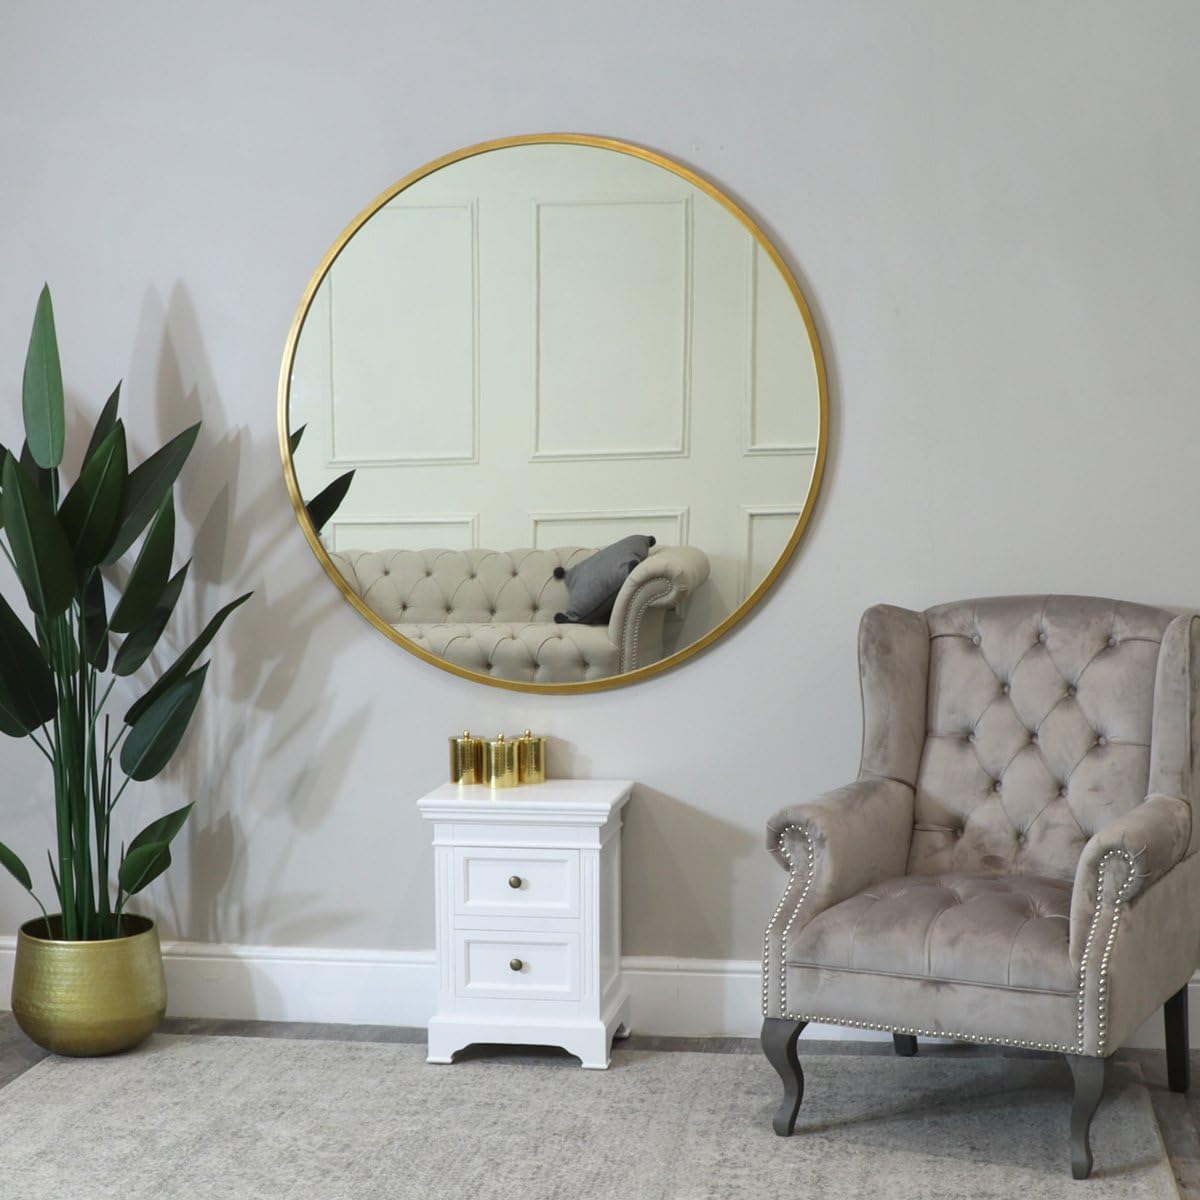
This Hemington extra large round mirror (120cm) shines with its sophisticated appearance, brought to life by the gracefully smooth glass pane and slender, neutrally coloured metal frame surround.
If dust builds up on the mirror or frame, you can use a simple hand duster, or a dry lint-free, scratch-free cloth.
If the frame needs extra cleaning, do not use bleach or harsh chemicals. Instead use a slightly damp lint-free, scratch-free cloth with water and wipe off any excess moisture afterwards with a dry cloth. Like What You See?In the unlikely event that you receive this item damaged, we will arrange to collect, exchange and re-deliver this item to you at no extra cost. Coming in at a generous size for an extra large round mirror: 120cm x 120cm x 2cm, this mirror can find a suitable place on most walls throughout the home. Installation & Hanging Guidelines
This mirror comes with 1x factory-supplied keyhole at the edge of the rear of the frame. As this piece has a round shape, it can only hang in one orientation. To hang the mirror, attach it directly to a wall screw that is lined up to the centre of the keyhole. DO NOT STRING. Please note that screws and Rawl plugs are not included with this item. Cleaning & Maintenance This uncomplicated design infuses a dash of effortless charm into any modern or transitional décor. Perfect for the minimalist seeking to blend functionality with a touch of refined coloration, this extra large round mirror (120cm) truly elevates any space. Key Highlights
- Fruugo ID: 258392218-563234582
- EAN: 764486781913
-
Sold by: Fruugo