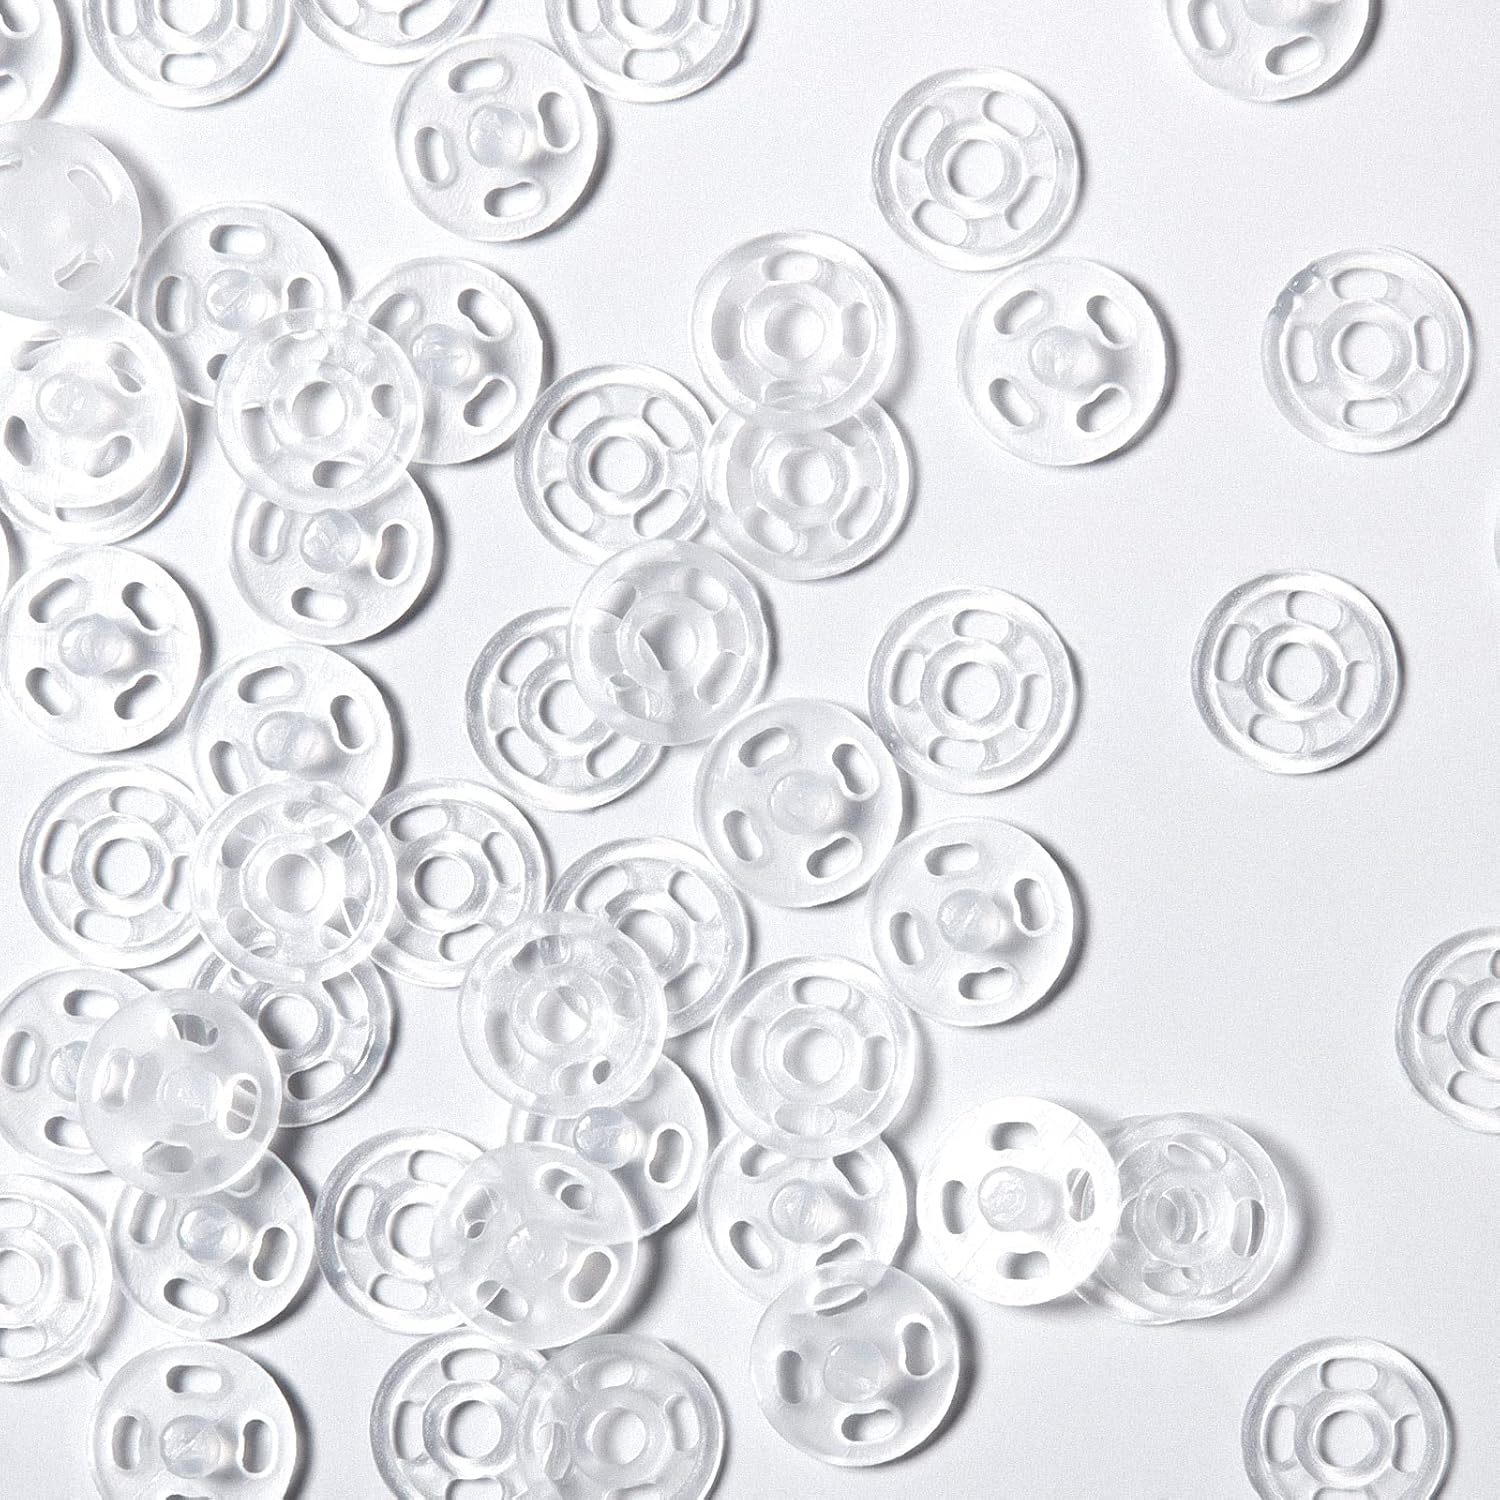
40 Pairs Plastic Snap Fasteners Buttons Transparent Buttons Invisible Sewing On Snap Buttons Sew-on Snap Buttons Press Button Plastic Clear Buttons for DIY Crafts Sewing Clothing (7 mm/ 0.27 Inch)
FREE Shipping
40 Pairs Plastic Snap Fasteners Buttons Transparent Buttons Invisible Sewing On Snap Buttons Sew-on Snap Buttons Press Button Plastic Clear Buttons for DIY Crafts Sewing Clothing (7 mm/ 0.27 Inch)
- Brand: Unbranded
40 Pairs Plastic Snap Fasteners Buttons Transparent Buttons Invisible Sewing On Snap Buttons Sew-on Snap Buttons Press Button Plastic Clear Buttons for DIY Crafts Sewing Clothing (7 mm/ 0.27 Inch)
- Brand: Unbranded
| RRP: | |
| Price: |

Description
This time around in our script, we need to select the button too (not just the freeCodeCamp text). That’s because there’s nothing JavaScript in the opening tag of our button, which is cool. Lots of Buttons also makes it her prime mission to educate people about saving the environment by finding the lost button, rather than scrapping an item of clothing. Our team also With the Action button: You can choose what you want this button to do, including opening the Camera app or turning on the torch. By default, the Action button turns Silent mode on or off. Find out more about the Action button. Totally Buttons now sells over 4000 different buttons of all shapes and sizes, made from every material including: allow people to find what they want is costly. Lots of Buttons is the cheapest button store online by far, typically selling at 50% off other stores.
Having extra buttons, needle, and thread won't consume too much space on your stuff especially when inside a kit or even a small tin can. Now that we know how important this skill is, let's get learning! How to Sew a Button | Materials NeededIf, however, user’s selection needs to done, perhaps we could get away by relying on frequently used default values instead of asking the user to make a selection explicitly. For example, Blue Apron provides a default selection for its number of recipes delivered per week, and so the “Select” button is active because it always indicates the next step. Blue Apron provides a default selection rather than making the button disabled by default. Usually making a call to action disabled by default can bring more damage than help. (Image source: Blue Apron) While there are many scenarios when inline validation works well, there are just as many exceptions and edge cases when inline validation doesn’t work at all: Remember from the HTML that changeColor() is the function we are going to execute. That’s why our function identifier (name) is set to changeColor. If the name doesn’t correlate with what’s in the HTML, it won’t work.
Interrupting an ongoing process feels risky and unpredictable, so we’d rather just sit and wait in front of a disabled interface — the patience threshold is large enough for us to not jump into all that hassle and trouble of finding out right away. On Coolblue, the product list view is disabled as it’s being updated, but the sidebar remains active and accessible. As reality is complex, sometimes it’s incredibly difficult for an interface to predict all the options that customers might want to choose ahead of time. Often user’s context is simply unpredictable, and is influenced by things that are outside of our reach. So in the case of an ill-formed input or an error, we should give our customers the benefit of the doubt and provide a way out to complete the form, even although it doesn’t entirely meet our requirements or expectations. Disabling buttons might be a good idea in some scenarios after all. But we can probably do better than a greyed out button with insufficient contrast. Let’s take a look at some techniques to make disabled buttons slightly more inclusive. Making Disabled Buttons More Inclusive All of that not to say that disabled buttons should always be avoided at all costs though. They work well when they serve a very small, and a very specific purpose. When Disabled Buttons (And States) Work WellIn all of these scenarios, users don’t have all the required documents at hand at the time when they fill in the form. Now imagine that all these services provide a 14-days-window after opening the account when the missing documents could be submitted. Technically customers still should be able to proceed without these documents, but for that, they’d need to choose “Submit later” for each missing document as they are filling in the form. Typing a single character is enough to enable the button. What’s the right threshold? Example: ImmobilienScout24. Needle threader (optional) – if you're struggling threading needles, it won't hurt to have this in your kit. when any input is based on a particular group of frequent customers, and a perfectly valid input doesn’t match the requirements tailored to them, With these enhancement in place, it might be a good idea to revisit the role of inline validation. There are so many questions that need a discussion — when should we start validating, when do we trigger a validator if a user is editing a valid or invalid field, when do we show error messages or confirmation that the input is correct. All these questions deserve a separate article, but in general, keeping inline validation while providing a way out is reasonable, yet it doesn’t need to go hand in hand with disabled buttons. Do you know of other efficient ways on how to sew a button? Share yours in the comments section below!
Volume buttons: Use the volume up/down buttons to adjust the volume when listening to music, watching videos or playing games. When you're not using other apps, the buttons will adjust the ringer volume. The next thing we need to do is to write our JavaScript so we can see the rest of the article that is hidden. If we do want to find out what happened, we have to embark on a long-winded journey full of hops from one customer support department to another, and sometimes spend hours in chat widgets trying to get reassurance that the card isn’t going to be charged twice, or we indeed did cancel a subscription. We need to select our article first, because we have to show the rest of it: const article = document.querySelector("#content");What if a customer is opening their bank account, and they need to verify their place of tax residency, along with a few other documents? Or perhaps what if some input can not be verified immediately, but needs to be proxied through another service, yet this service keeps timing out? Or perhaps some vendors haven’t submitted their final quotes yet, but the project needs to be added into the system urgently? You probably will behave the same way. Why is that? As it turns out, we do so just to avoid any disruptions or interruptions of the ongoing process. Just like we don’t know if Schoredinger’s cat is alive or not without looking into the box, we just don’t know if the booking got through or not until we look into the system, or speak with someone who does.
In this tutorial, I will be using querySelector() because it is more modern and it's faster. I will also be using const to declare our variables instead of let and var, because with const, things are safer as the variable becomes read-only. const name = document.querySelector(".name"); With the universal selector ( *), we are removing the default margin and padding assigned to elements so we can add our own margin and padding. So when should we enable the disabled button? Should we change the state only when the user has asked to submit the documents later for all of them, or should we let them through even if they haven’t opted in (and remind them that we need them to be uploaded within 14 days)? Most of us will agree that the first option is probably more obvious, but only if the user can spot the option to submit documents later. The second option is probably going to increase conversion and bring in more leads though.change the cursor on a disabled button to indicate that users can’t interact with it ( cursor: not-allowed), Whenever dealing with disabled buttons, we might want to ask ourselves if there is any better way to communicate the options that the user has, and think about the ways connect with them despite the errors — with a default selection, tooltips and hints, as well as actionable calls to action (e.g. be notified about updates). Wrapping Up How can we make disabled buttons more inclusive? When do they work well, and when do they fail on us? And finally, when do we actually need them, and how can we avoid them? Let’s find out. Part of our ongoing series on design patterns. In fact, inline validation is likely to be more helpful without a disabled button as users might get a better overview of the correct and incorrect input by having erroneous input fields highlight on submit. That, of course, requires buttons to be accessible at all times. In fact, it’s not such a bad idea at all. An Alternative To Disabled Buttons Communicating that something isn’t possible is as important as preventing users from making costly mistakes. Here are a few scenarios where this might come in handy:
- Fruugo ID: 258392218-563234582
- EAN: 764486781913
-
Sold by: Fruugo